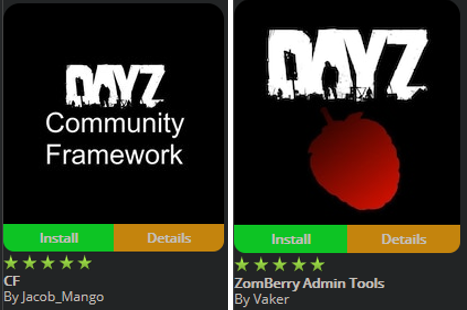
In this guide we will be covering how to install Zomberry Admin Tools onto your DayZ Standalone server.
- In your game panel, click on the button that says Steam Workshop.
- Using the search box, search for and install CF & Zomberry Admin Tools.


- In the command line manager select the appropriate command line, if you're just using Steam Workshop mods select the Mods command line. You should then see a textbox appear where you can enter the mod names - it should look like this...

Make sure to include a semi-colon in between every mod you add. - At this point, we've got both mods installed and enabled on the server. Go ahead and start your server, we need to do this so Zomberry can generate some files for us.
As the server is starting up keep an eye on the player count in the game panel, once this changes from 0/0 to 0/x (replace x with your maximum slot count for example 0/20), stop the server. - Now we need to go ahead and do some configuration to setup players as admins. Firstly, we will need to create a new file in the following directory, you can do this using either the File Manager or an FTP program such as FileZilla.
Navigate to \profiles\Zomberry\, if you're using the file manager at the top of the browser click the New File button - you will need to name this "admins.cfg". - Proceed to edit this file by clicking the small pencil icon to the right of the file name.
In here you will need to put your Steam64ID, you can get this from here: Convert your SteamID. Note that if you have multiple admins, each ID has to go on its own line. For example...76561198xxxxxxxxx76561198xxxxxxxxx76561198xxxxxxxxx - Now everything has been configured, go ahead and start your server. If everything has worked, you should be able to press the O key on your keyboard to open the admin menu.
Looking for a game server host known for brilliant 24/7 customer support and quality hardware?
Try a Pingperfect DayZ Standalone server today! https://pingperfect.com/gameservers/dayz-standalone-game-server-hosting-rental.php
